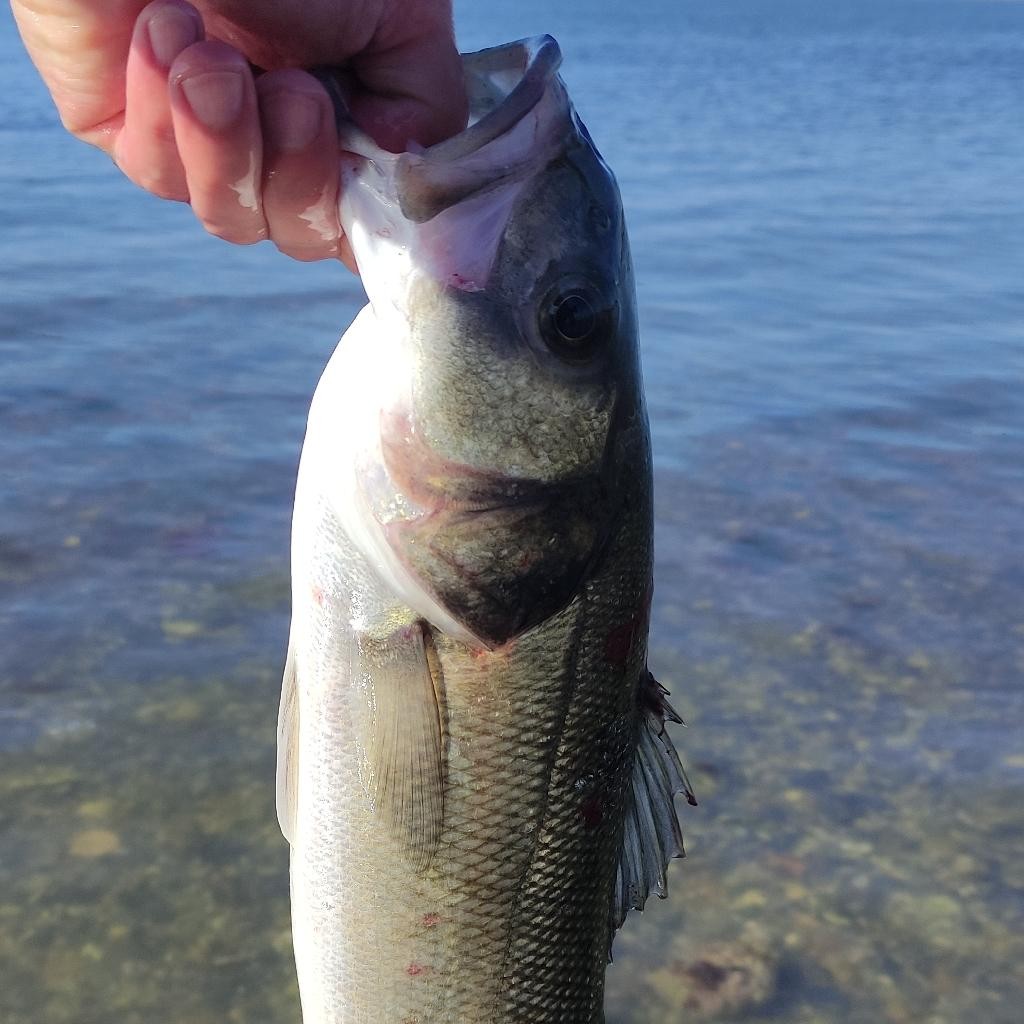
All conditions optimal for diving.
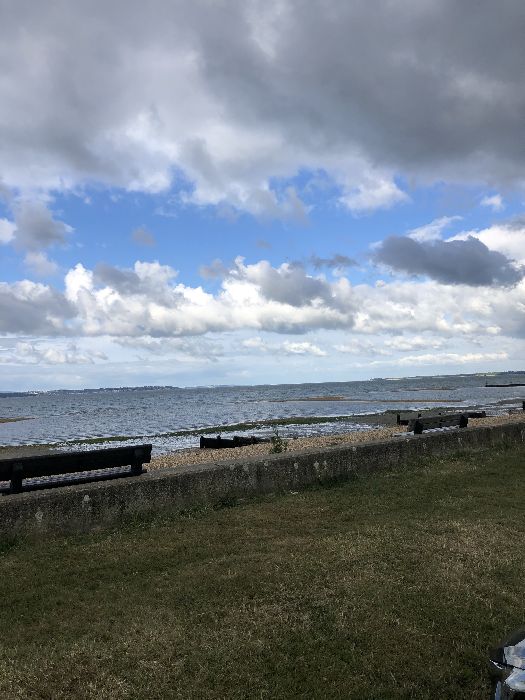
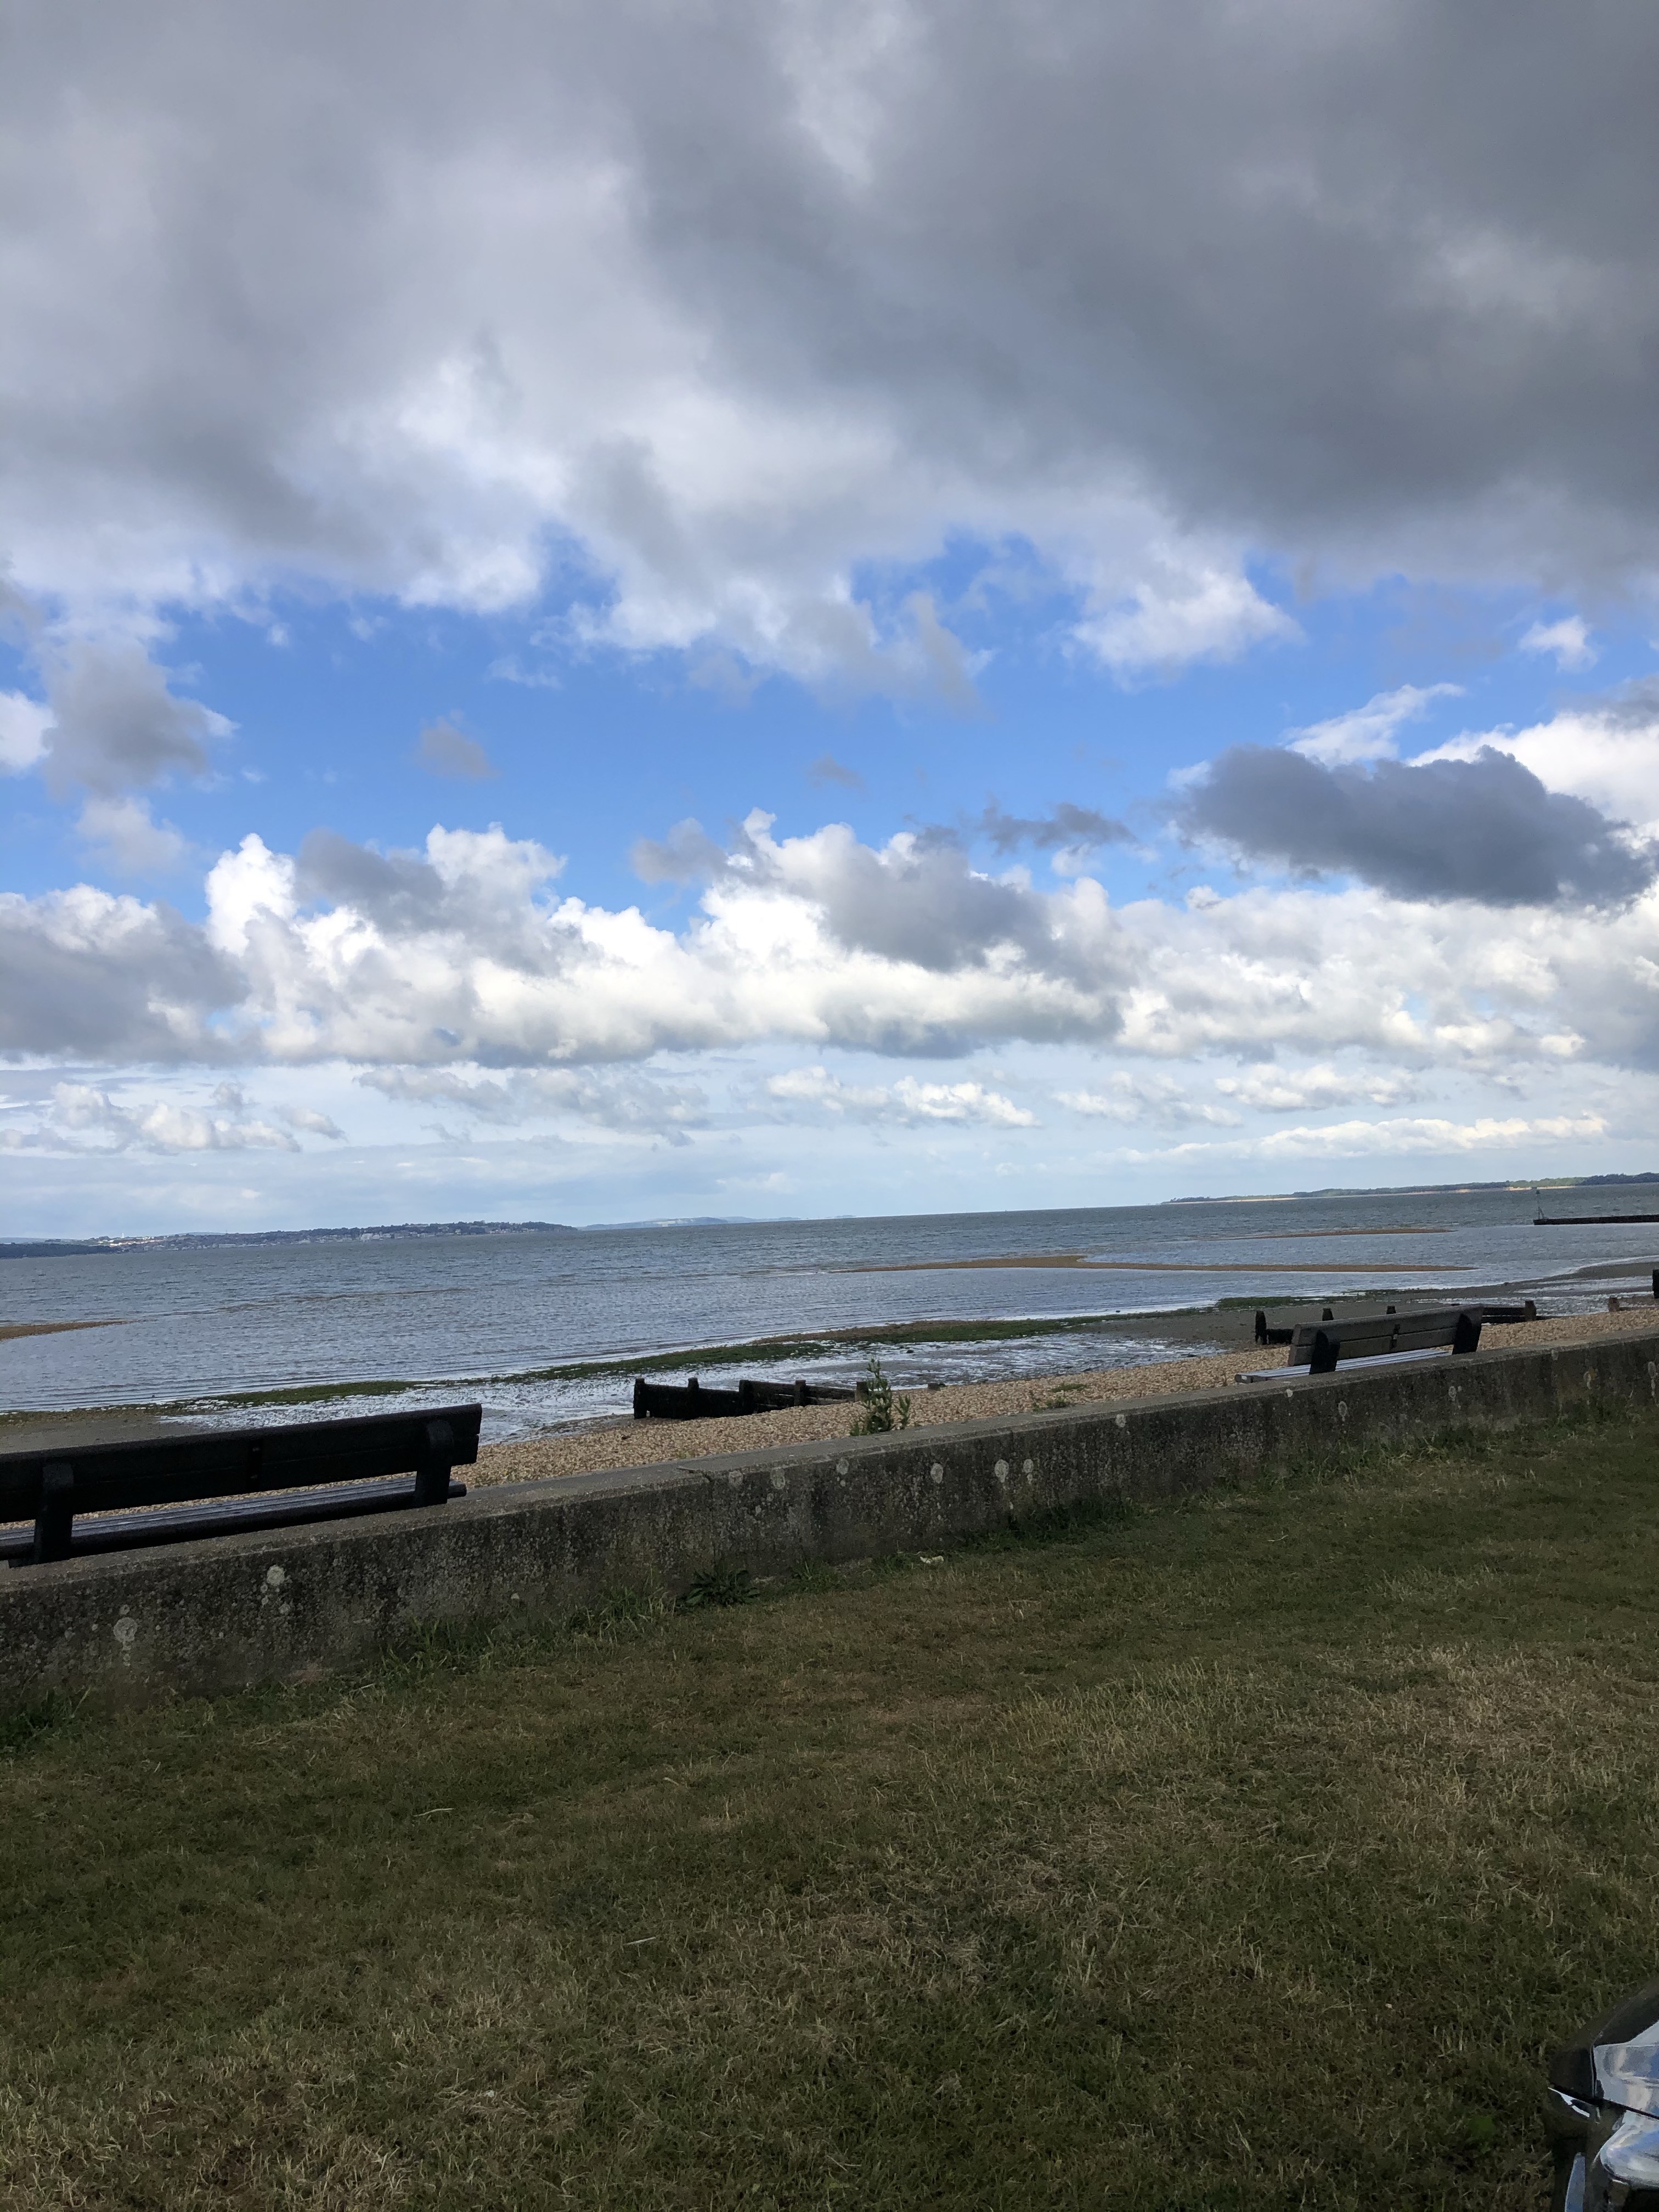
Calshot, Calshot hava durumu ve canlı rüzgar haritasıVerified


Canlı rüzgar haritası

1 / 3
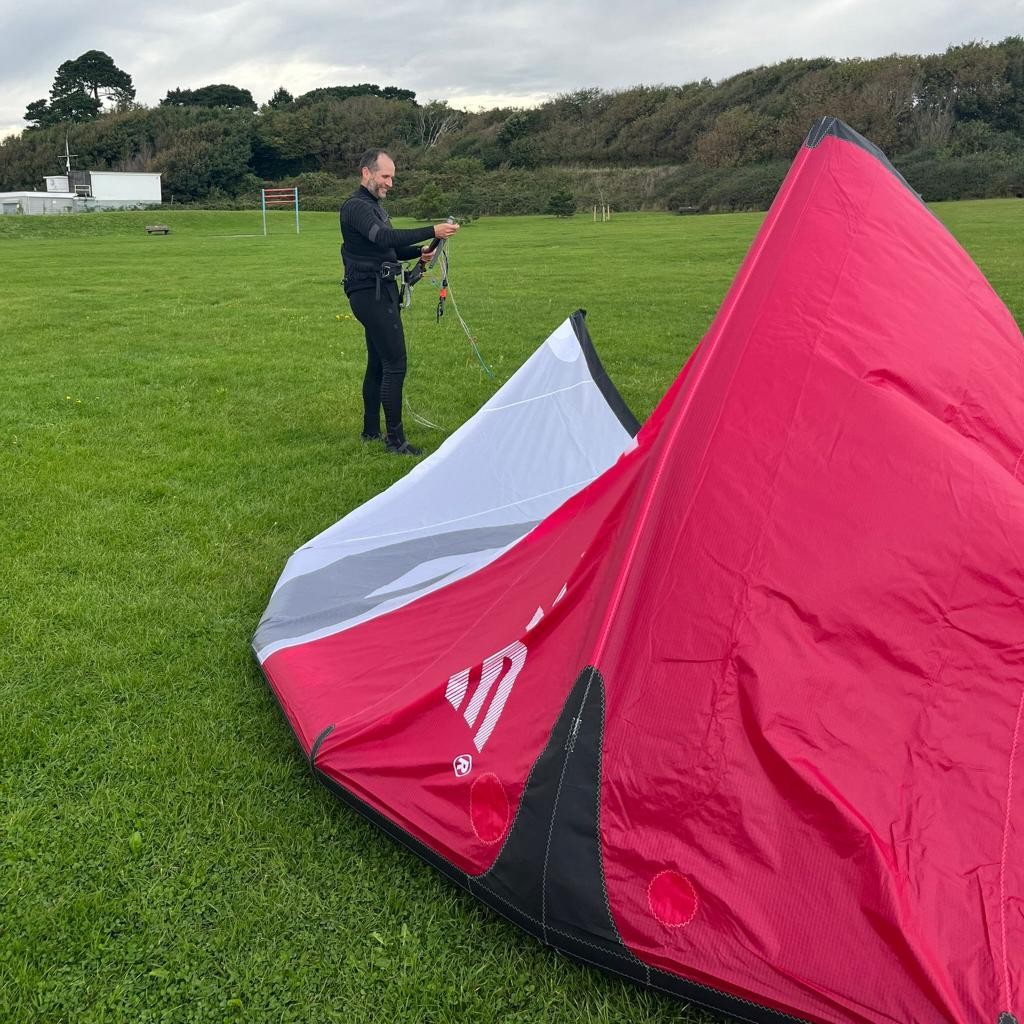
Popüler Spot Etkinliği — Uçurtma sörfü
-

Ocak — Aralık
En iyi sezon
-

KD, G
Tipik rüzgar yönleri
-

chop, flat
Su koşulları
-

>1m
Su derinliği
-

Kalabalık değil
Trafik
-

İleri
Sürüş seviyesi
-

6-10
Uçurtma boyutları
Nearby spots
No nearby spots found.
United Kingdom top spots
-
The Solent (Cowes)

-
Junction Pool, Kelso (River Tweed)

-
London
-
River Test (Stockbridge)
-
Junction Pool, River Tweed (Kelso)
-
Craigellachie Bridge Pool, River Spey
-
Islamouth, River Tay
-
Holyhead Breakwater
-
Rutland Water (Normanton)

-
Grafham Water (Fishing Lodge)
-
Chew Valley Lake (Woodford Lodge)
-
Hampshire Avon (Ibsley Bridge)
We are sorry, but this model is available only in the App
You can get Windy.App for your platform here:


Or if this model is important for you in the web - please let us know at [email protected]

Or if this model is important for you in the web - please let us know at [email protected]