19.03.2026 (Thursday)
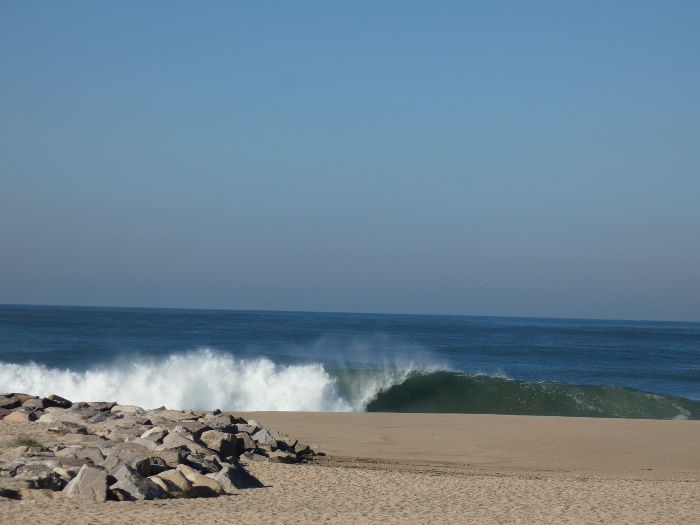
- Strong swell – dangerous for diving/exiting (2.9 m)
- Optimal swell period (11.7 s)
- Low water temperature – risk of hypothermia (14.4 °C)
- No strong wind – comfortable for diving (avg 3.3 m/s)
- Low air temperature – less comfort (avg 15.5 °C)
- Optimal current speed (0.5 kts)
- Optimal depth and easy access (1.6 m, LAT)
20.03.2026 (Friday)
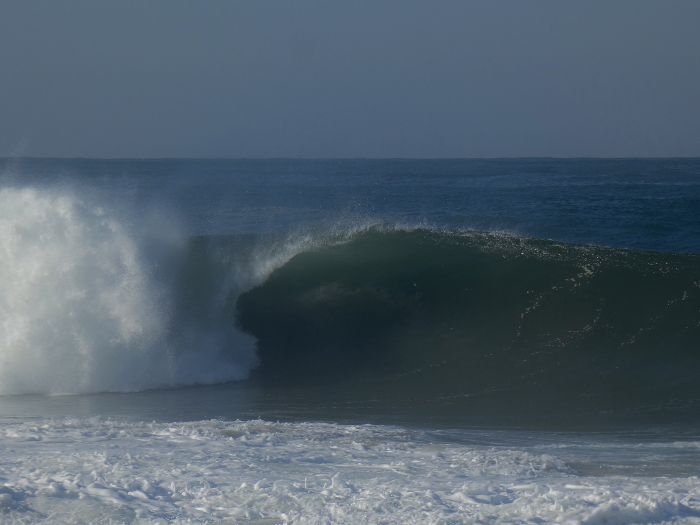
- Significant swell – experience required (2.0 m)
- Optimal swell period (10.5 s)
- Low water temperature – risk of hypothermia (14.3 °C)
- No strong wind – comfortable for diving (avg 2.2 m/s)
- Air temperature too low (avg 14.4 °C)
- Optimal current speed (0.6 kts)
- Optimal depth and easy access (1.6 m, LAT)
21.03.2026 (Saturday)
- Significant swell – experience required (1.3 m)
- Optimal swell period (8.7 s)
- Low water temperature – risk of hypothermia (14.3 °C)
- No strong wind – comfortable for diving (avg 1.4 m/s)
- Air temperature too low (avg 13.5 °C)
- Optimal current speed (0.4 kts)
- Optimal depth and easy access (1.7 m, LAT)
22.03.2026 (Sunday)
- Significant swell – experience required (1.4 m)
- Optimal swell period (11.1 s)
- Low water temperature – risk of hypothermia (14.5 °C)
- No strong wind – comfortable for diving (avg 1.9 m/s)
- Air temperature too low (avg 14.0 °C)
- Optimal current speed (0.4 kts)
- Optimal depth and easy access (1.5 m, LAT)
23.03.2026 (Monday)
- Significant swell – experience required (1.4 m)
- Optimal swell period (11.0 s)
- Low water temperature – risk of hypothermia (14.8 °C)
- No strong wind – comfortable for diving (avg 2.3 m/s)
- Air temperature too low (avg 14.8 °C)
- Optimal current speed (0.4 kts)
- Low tides – preparation required (1.3 m, LAT)
24.03.2026 (Tuesday)
- Significant swell – experience required (1.3 m)
- Optimal swell period (9.6 s)
- Low water temperature – risk of hypothermia (14.7 °C)
- No strong wind – comfortable for diving (avg 4.0 m/s)
- Air temperature too low (avg 14.7 °C)
- Optimal current speed (0.4 kts)
- Low tides – preparation required (1.0 m, LAT)